Home-Assistant-The-Smart-Home-Saga-Begins
📝 Requirement List:
- 🍓 Raspberry Pi (used 3B+ version for this tutorial)
- 💿 Raspbian OS
✨ Bonus Magic Tutorial ✨
🔮 If you want to know how to install Raspbian on Pi without a monitor, please follow this magic tutorial – The Invisible Setup: Installing Raspbian on Raspberry Pi Without a Monitor! 🧙♂️
Enjoy your Pi adventure! 🥧
Part 1: The Magical Installation 🧙♂️
Welcome to the world of smart homes! Ready to turn your home into a futuristic paradise? Let’s kick things off with Home Assistant and Postgres.
But first, a quick disclaimer:
1 | If you start talking to your appliances, we’re not responsible for any strange looks from your family members. |
Step 1: Summon Docker on Raspberry Pi 🐳
Imagine Docker as the magical suitcase from Mary Poppins.
It can fit everything you need in one place!
Here’s how to get Docker onto your Raspberry Pi:
- Open your terminal.
- Run these magical incantations:
1
2
3
curl -fsSL https://get.docker.com -o get-docker.sh
sudo sh get-docker.sh
sudo usermod -aG docker muadib
Once Docker is installed, grab your Raspberry Pi and do a little celebratory dance.
You’ve just completed the first step!
Step 2: Docker Compose - The Fellowship Leader 🧙♂️
Docker Compose is like the director of an orchestra, making sure all your containers play in harmony.
Create a file named docker-compose.yml and add the following lines to it:
1 | version: '3' |
Save it, then run this in your terminal:
1 | docker-compose up |
Now, take a break. Grab a coffee, pet your cat, or just stare lovingly at your Raspberry Pi as it works its magic.
Configuration Explained 🧩
Now that you’ve got Home Assistant and Postgres running, it’s time to configure them.
1 | docker-compose stop |
This is where the real fun begins. Here’s a breakdown:
Database Configuration 📚
In your configuration.yaml file, add:
1 | recorder: |
What’s Happening Here?
- auto_repack: Optimizes the database automatically.
- purge_keep_days: Keeps only the last 7 days of data. Because who needs to remember what their thermostat was set to three months ago?
- db_url: This is where the magic happens. The connection string for your Postgres database (we’ll configure this in a bit).
Secrets Configuration 🕵️♂️
To keep your secrets safe (because, let’s face it, we all have them), create a secrets.yaml file and add:
1 | psql_string: "postgresql://<user>:<password>@192.168.0.XXX/<db_name>" |
Replace PASSWORD and 192.168.0.XXX with your actual password and IP address.
Enable Integrations from the Home Assistant UI
Run:
1 | docker-compose up -d |
Now, let’s make Home Assistant actually do something!

Confgure it and enjoy your journey!!

Enable some first sensors like:
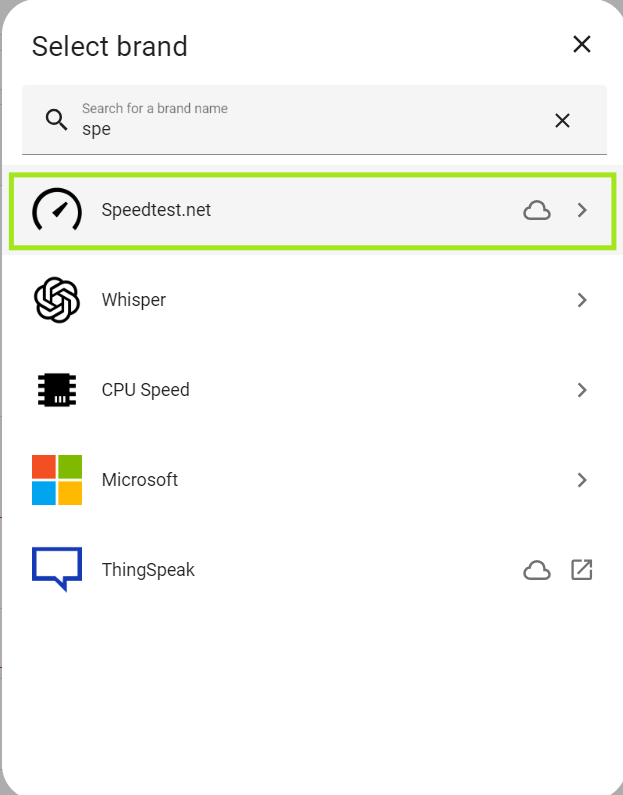
- Speedtest Integration: Navigate to the integrations page and enable the Speedtest integration. No more guessing if your internet is slow because of the weather or because your neighbor is downloading every season of their favorite show.

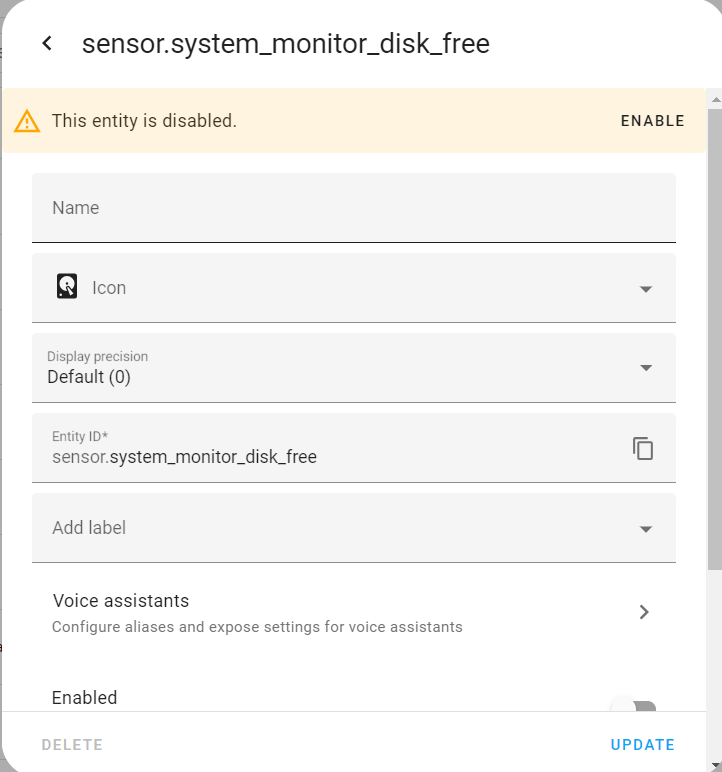
- System Monitoring: Enable system monitoring metrics by going to
config/integrations/integration/systemmonitor. Pick the metrics you care about and add them to your dashboard.

Here’s a sneak peek at what your first dashboard might look like:

If you’re interested in learning how to create the dashboard or theme, please leave a comment on this blog.
Coming Up Next
In the next tutorial, we’ll dive into capturing data from RTL weather stations and sensors for humidity and temperature. We’ll also explore frequencies like 400 MHz and 800 MHz.
So stay tuned, because your smart home journey is just beginning!
Until next time, happy automating! 🚀
Feel free to share your progress and any questions in the comments below.
Let’s make our homes smarter together!